-
 Asset Theme Documentation
- Dlisting – Real Estate WordPress Theme
- Fabio Wood Documentation
- Rave Theme Documentation
- Singleland – Product Landing WordPress Theme
- Terra Theme Documentation
- Input
- Muffle – WordPress Documentation
- DDoc Documentation
- Medishop
- Fundly
- Donority
- Carspa
- Niro -WordPress Documentation
- Whal Documention
- Kidzo WordPress Theme
- Sparch WordPress Theme
- Flyn Documentation
- Saasland Documentation
- Denzel Documentation
- Rave Documentation
- Makro Creative WordPress Theme For Saas & Startup
- Coro
- Motodeal Documentation
- Oppi WordPress Theme Documentation
- Filix WordPress Documentation
- Zix WordPress Theme
- Mak WordPress Theme
- Appart WordPress Theme
- Appland WordPress Theme
- Wavee WordPress Theme Documentation
Header
Estimated reading : 4 minute
Navigate to the Header section from the Theme Settings option. Here you will get to customize the following options within the header. You can customize Logo, Header Content, Header Styling, Header Top, Action Button and Title Bar.

Let’s look at the process of using these tools.
Logo

Main Logo: You can upload your logo here that will be placed on the header. We recommend you upload the PNG version of your logo so that it can stand out on any background.
Sticky Logo: Sticky logo refers to the visual representation of your logo when a visitor scroll downs on your website, The sticky logo remains constant on the header as the visitors scroll through the web page. You can upload the required image from this section.
Main Retina Logo: The main retina logo option allows you to upload another version of the logo that will be clearly visible from devices that use a high resolution display.
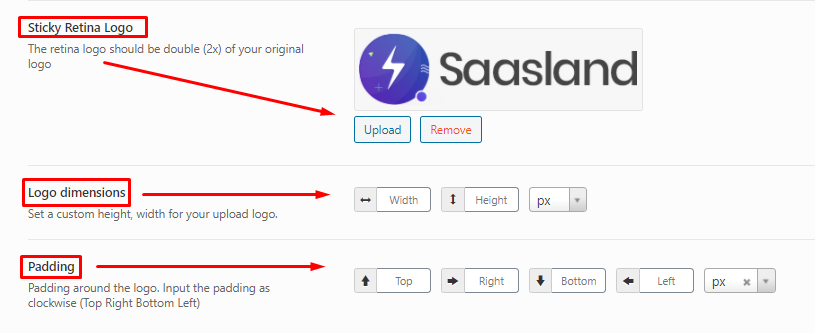
Sticky Retina Logo: This version of logo is needed for the sticky retina version of the logo. Similar to the Retina logo, the sticky logo needs to be 2x of your original logo.
Logo Dimensions: From this option, you can change the width, height and pixel of your logo to meet your requirements.
Padding: Padding will allow you to customize the logo position further. You can customize as per your preference by navigation through the different measurement options.
Click Save Changes to apply the changes you have made.
Header Content
From the Header Content option, the following customization can be done.
Navnar Type: Pick whether you want Classic Default Menu or Hamburger Overlay Menu in your navigation bar.
Header Sticky: Header Sticky refers to the header to be sticky on top as the visitor scrolls through the web page. You can Enable/Disable this feature from here.
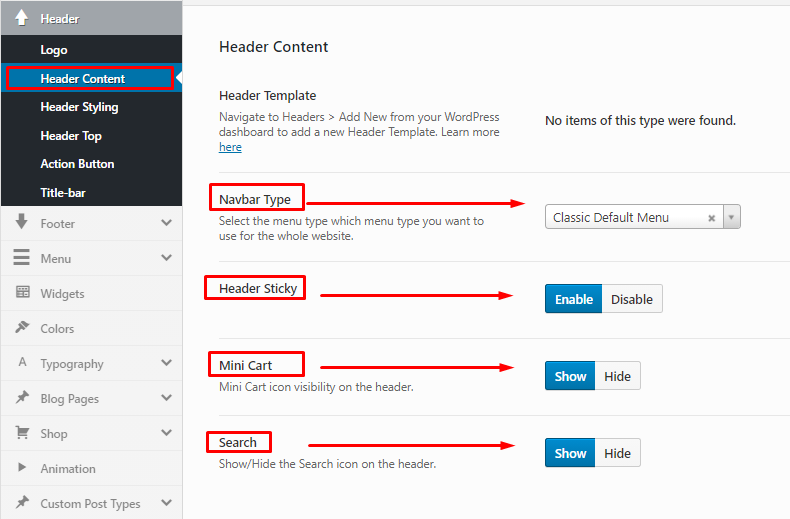
Mini Cart: You can decide if you want to keep the mini cart icon visible on your header or not. We recommend keeping it visible only if you have an online shop.
Search: Pick whether you want to include the Search Bar here or not.
Click Save Changes to apply the changes you have made.
Header Styling
From the Header Styling option, you can customize the following sections.
Navbar box layout: From the drop down menu, you can pick Box, Wide or Full Width layout for your navigation bar.
Menu Alignment: From here, you can determine whether you want to display the menu on Center, Left or Right.

Header Background Color: Show/Hide the header background color from this option of the section. If you choose to show the Header Background Color, you will get another option to pick the color you want it to be.
Header Sticky Background: The Header Sticky Background will determine the color you want the sticky background to have. You can select color and keep it transparent for creative purposes.
Click Save Changes to apply the changes you have made.
Header Top
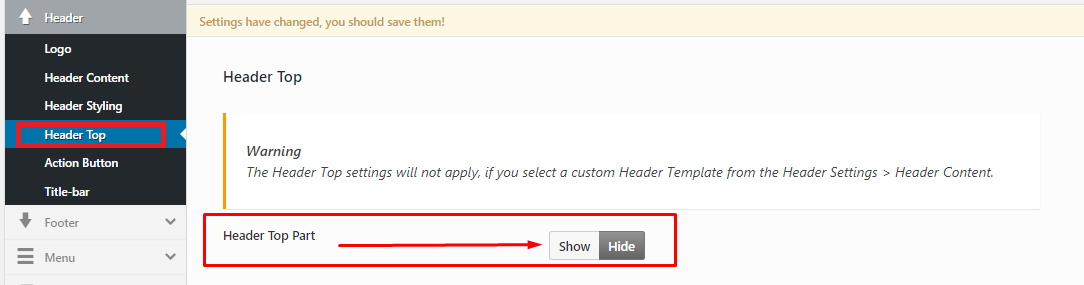
You can Show/Hide the header top if you are not using Custom Header Template.
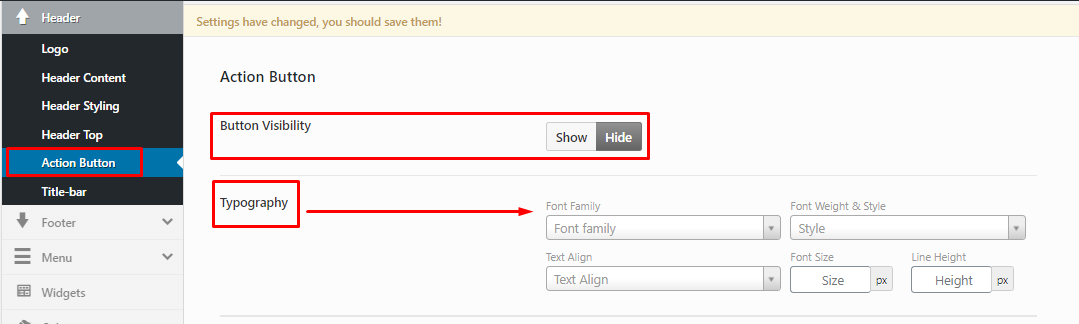
Action Button
Button Visibility: From here you can pick if you want to Show/Hide the Action Button or not.
Typography: In this section, you can customize the Typography of the texts that are being used. As the Action Button is an important button. Ensure you are using typography that can ensure good presentation of the buttons.
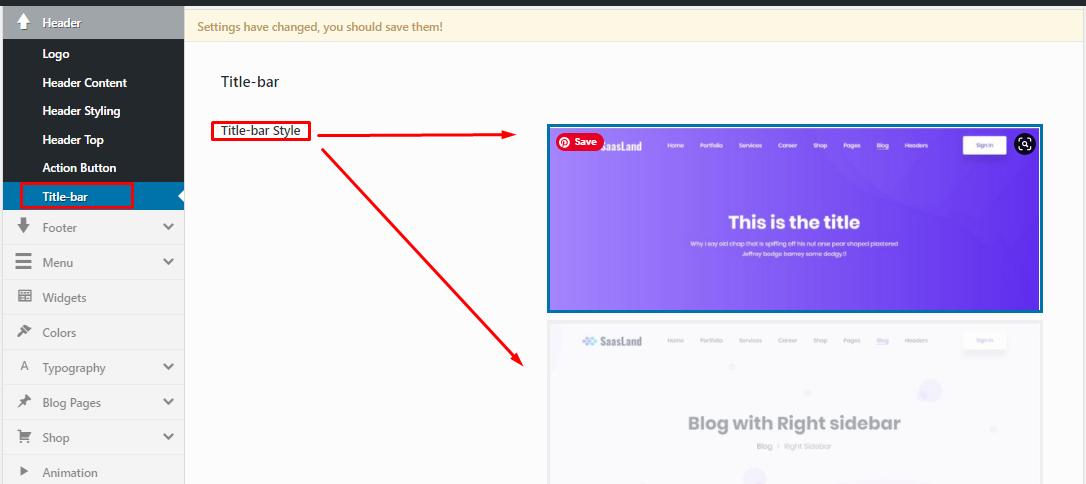
Title Bar
The Title-bar option allows you to pick from any of the available title bar styles. Pick the one you like and click on Save Changes to apply the changes.