-
 Asset Theme Documentation
- Dlisting – Real Estate WordPress Theme
- Fabio Wood Documentation
- Rave Theme Documentation
- Singleland – Product Landing WordPress Theme
- Terra Theme Documentation
- Input
- Muffle – WordPress Documentation
- DDoc Documentation
- Medishop
- Fundly
- Donority
- Carspa
- Niro -WordPress Documentation
- Whal Documention
- Kidzo WordPress Theme
- Sparch WordPress Theme
- Flyn Documentation
- Saasland Documentation
- Denzel Documentation
- Rave Documentation
- Makro Creative WordPress Theme For Saas & Startup
- Coro
- Motodeal Documentation
- Oppi WordPress Theme Documentation
- Filix WordPress Documentation
- Zix WordPress Theme
- Mak WordPress Theme
- Appart WordPress Theme
- Appland WordPress Theme
- Wavee WordPress Theme Documentation
Header
Estimated reading : 2 minute
Step 1
To start building a header, visit your WordPress Dashboard > Header Footer > Headers > Add New From here, you can create as many headers as you require.
You can add your header title from here and do make sure that you have the template option selected to “Elementor Canvas“ and hit publish.
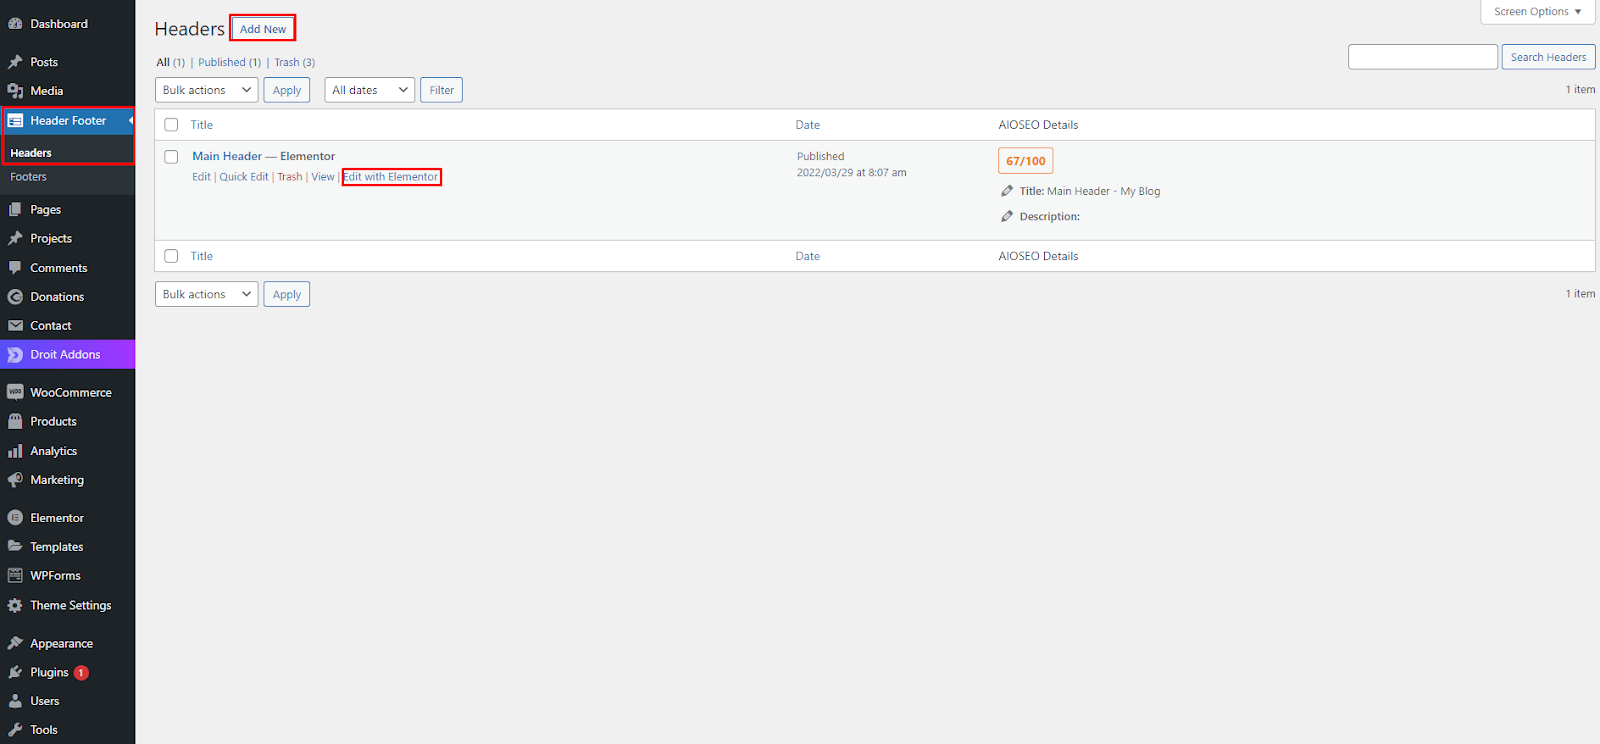
You can also make it visible on your entire website or on specific pages by toggling on and off from the sidebar “Display On“ option and selecting your preferred pages.
Step 2
To customize your Header further, go to Theme Settings.

From the Header menu, you can add your website’s logo, sticky logo retina logo and so much more.
After you’re done press Save Changes, to see site-wide changes take effect.
Step 3
Now to add content to your Header, visit your WordPress Dashboard > Header Footer > Headers > Header and click on the Elementor page builder button.
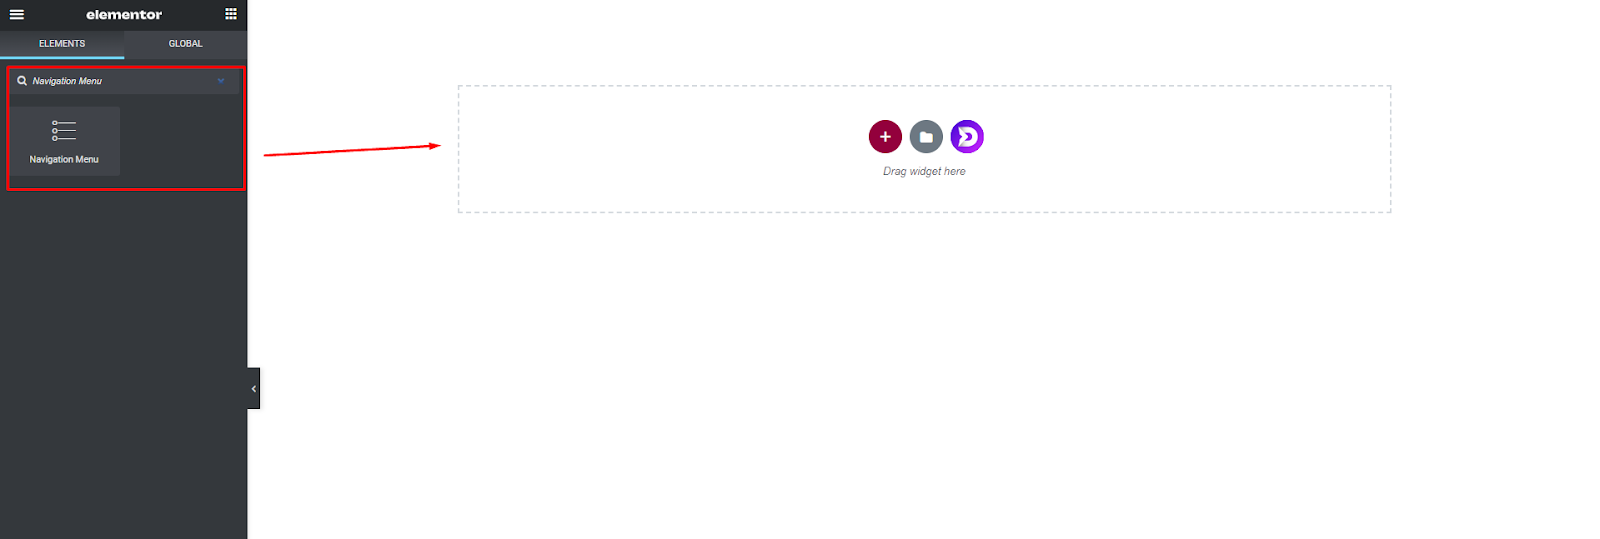
Step 4
Now from the left side search for the ‘’Navigation Menu’’ widget provided with the Donority theme and drag-n-drop it on your Elementor Canvas.
Step 5
Now select the Header you’ve just created from the Select Menu option.
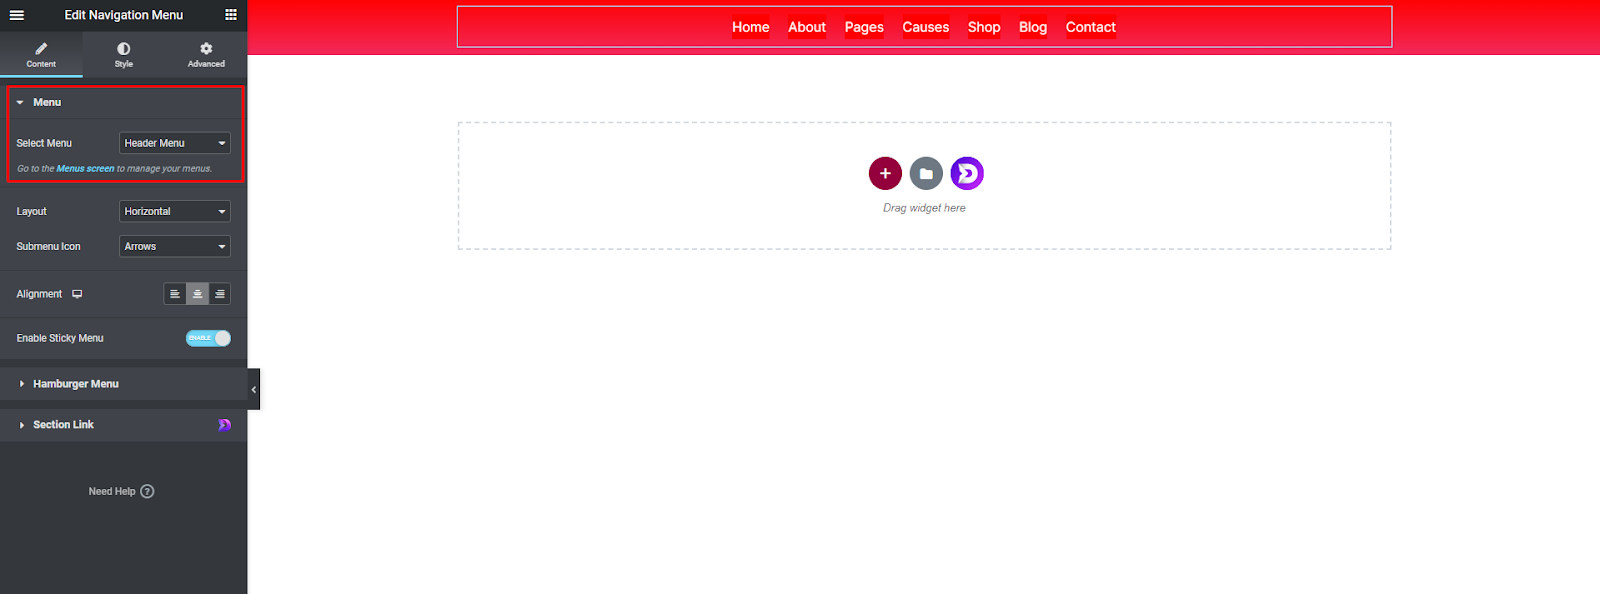
And there you have it, you have just created your header section. You also have the option to further customize it with Elementor and provided customization options with the Navigation widget with the theme.
And that’s it.
