-
 Asset Theme Documentation
- Dlisting – Real Estate WordPress Theme
- Fabio Wood Documentation
- Rave Theme Documentation
- Singleland – Product Landing WordPress Theme
- Terra Theme Documentation
- Input
- Muffle – WordPress Documentation
- DDoc Documentation
- Medishop
- Fundly
- Donority
- Carspa
- Niro -WordPress Documentation
- Whal Documention
- Kidzo WordPress Theme
- Sparch WordPress Theme
- Flyn Documentation
- Saasland Documentation
- Denzel Documentation
- Rave Documentation
- Makro Creative WordPress Theme For Saas & Startup
- Coro
- Motodeal Documentation
- Oppi WordPress Theme Documentation
- Filix WordPress Documentation
- Zix WordPress Theme
- Mak WordPress Theme
- Appart WordPress Theme
- Appland WordPress Theme
- Wavee WordPress Theme Documentation
- Home
- Docs
- Terra Theme Documentation
- Getting Started
- Theme Installation
Theme Installation
Estimated reading : 2 minute
Method 1: Theme Installation Via Admin Panel
First of all, you need to download the theme’s installable file from your ThemeForest account that you’ve used for this purchase. Go to your ThemeForest Account > Downloads Tab
Now, to add your new theme, go to your website’s Dashboard > Appearance > Themes and click on the Add New button.
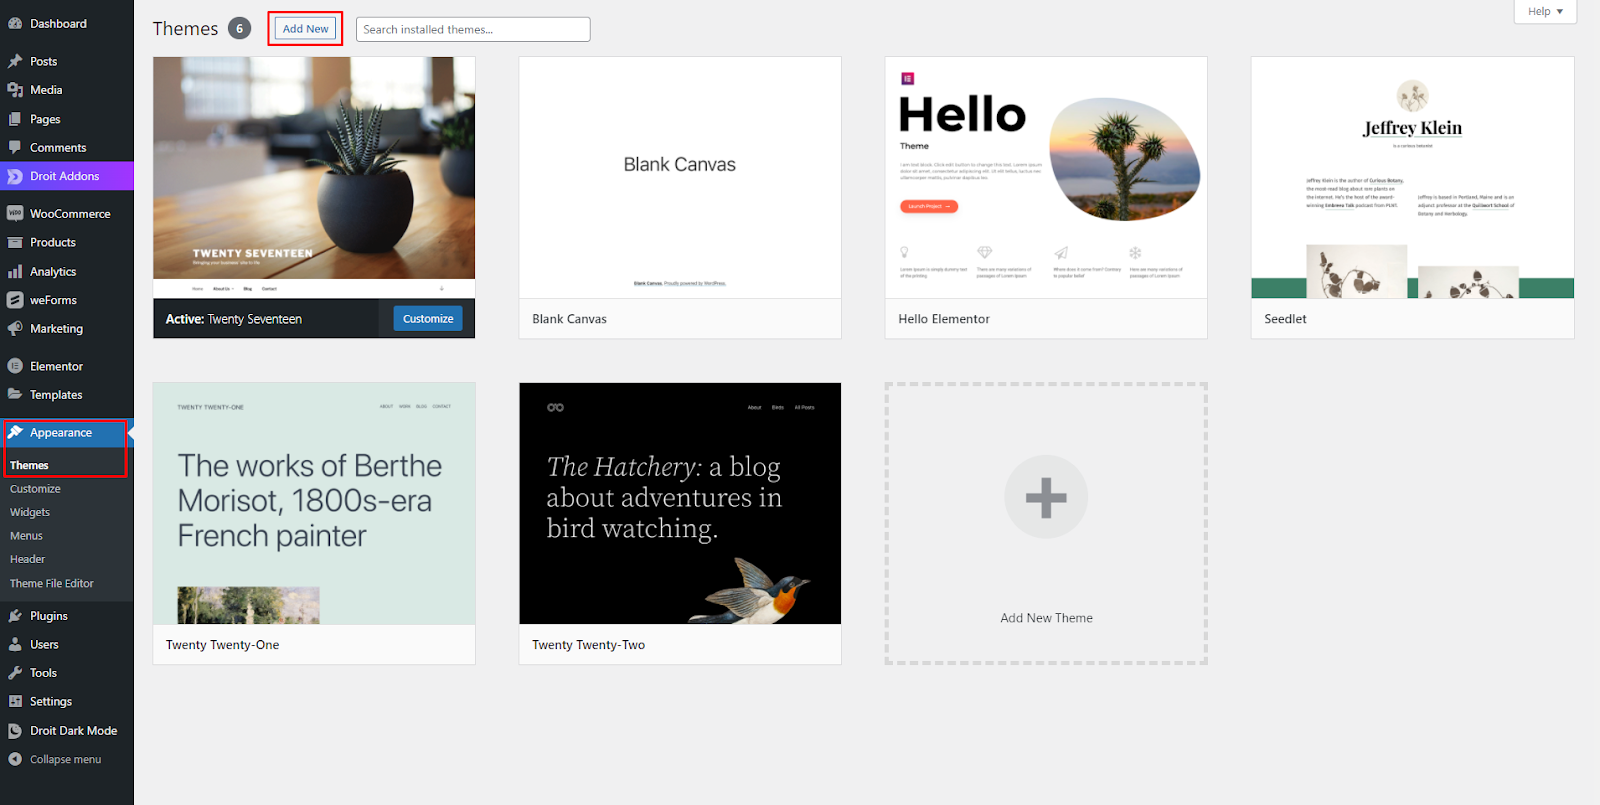
Now click on Upload Theme.
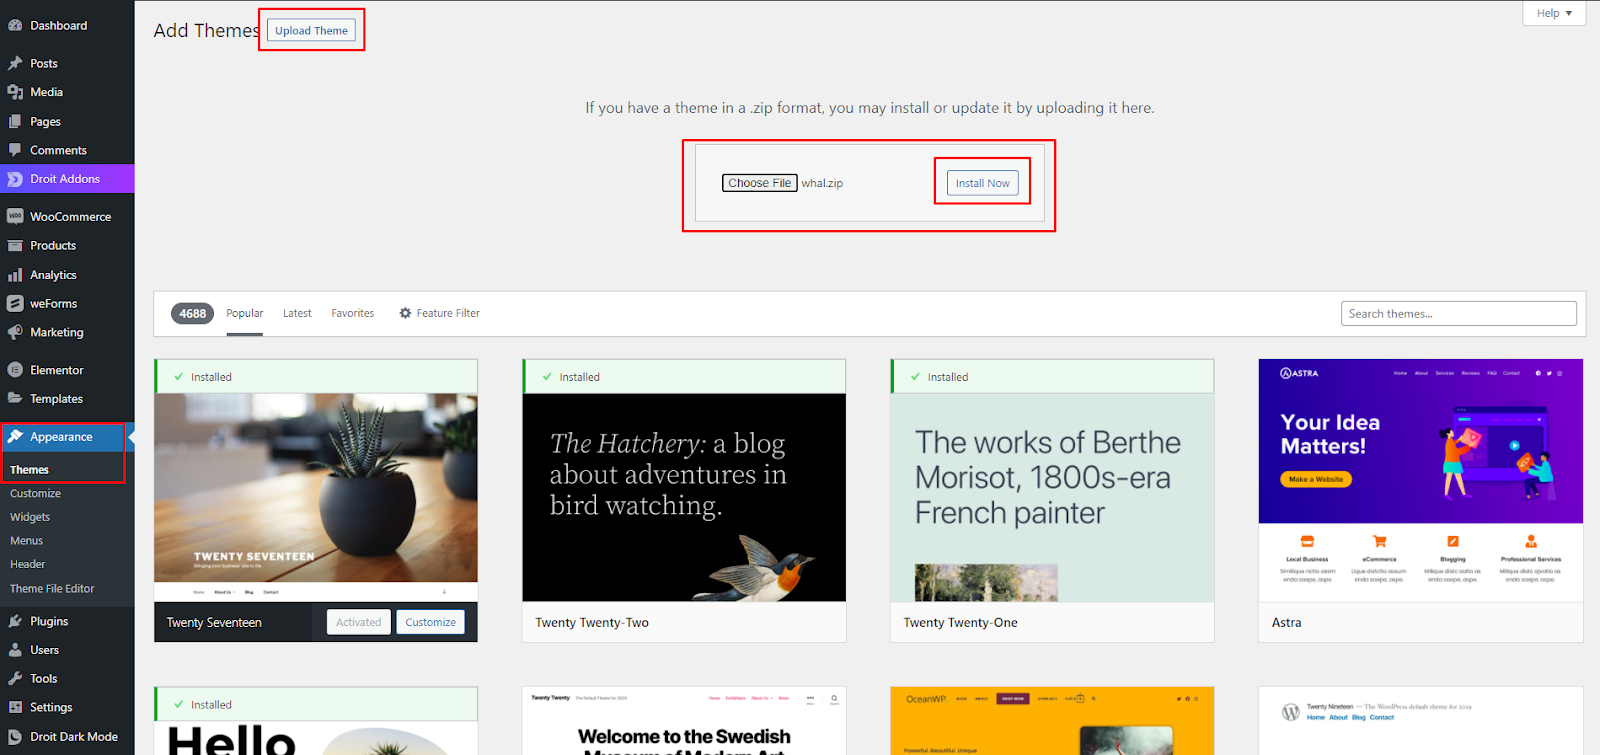
Choose the zip file that you have just downloaded from ThemeForest and click on the Install button. Then wait for the installation process to finish.

Final step, click on Activate theme button.

Congratulations! Your theme has been successfully installed and activated.
Method 2: Theme Upload and Installation Via cPanel
Sometimes, for some issues, you won’t be able to upload the Theme via WordPress Dashboard > Appearance > Theme > Add New > Upload Theme. If so, you can try this method of theme installation.
- Go to the cPanel (https://yoursite.com:2083 or https://yoursite.com/cpanel)
- Navigate to the File Manager > public_html/wp-content/themes/, then click on the “Upload” button from the top section of cPanel.
Method 3: Theme Installation Via FTP
If you can’t install the theme via methods 1 and 2. Try this method:
- Log in to your server via your FTP software (FileZilla, Transmit, etc).
- Unzip the terra.zip file, only use the extracted theme folder.
- Upload the extracted theme folder into wp-content > themes.
- Activate the newly installed theme by going to Appearance > Themes.
- Go to Appearance > Install Plugins and install all the required plugins.
- Simply click the Install button on each plugin to install them.
- Done
