-
 Asset Theme Documentation
- Dlisting – Real Estate WordPress Theme
- Fabio Wood Documentation
- Rave Theme Documentation
- Singleland – Product Landing WordPress Theme
- Terra Theme Documentation
- Input
- Muffle – WordPress Documentation
- DDoc Documentation
- Medishop
- Fundly
- Donority
- Carspa
- Niro -WordPress Documentation
- Whal Documention
- Kidzo WordPress Theme
- Sparch WordPress Theme
- Flyn Documentation
- Saasland Documentation
- Denzel Documentation
- Rave Documentation
- Makro Creative WordPress Theme For Saas & Startup
- Coro
- Motodeal Documentation
- Oppi WordPress Theme Documentation
- Filix WordPress Documentation
- Zix WordPress Theme
- Mak WordPress Theme
- Appart WordPress Theme
- Appland WordPress Theme
- Wavee WordPress Theme Documentation
- Home
- Docs
- Whal Documention
- Getting Started
- Demo Import
Demo Import
Estimated reading : 2 minute
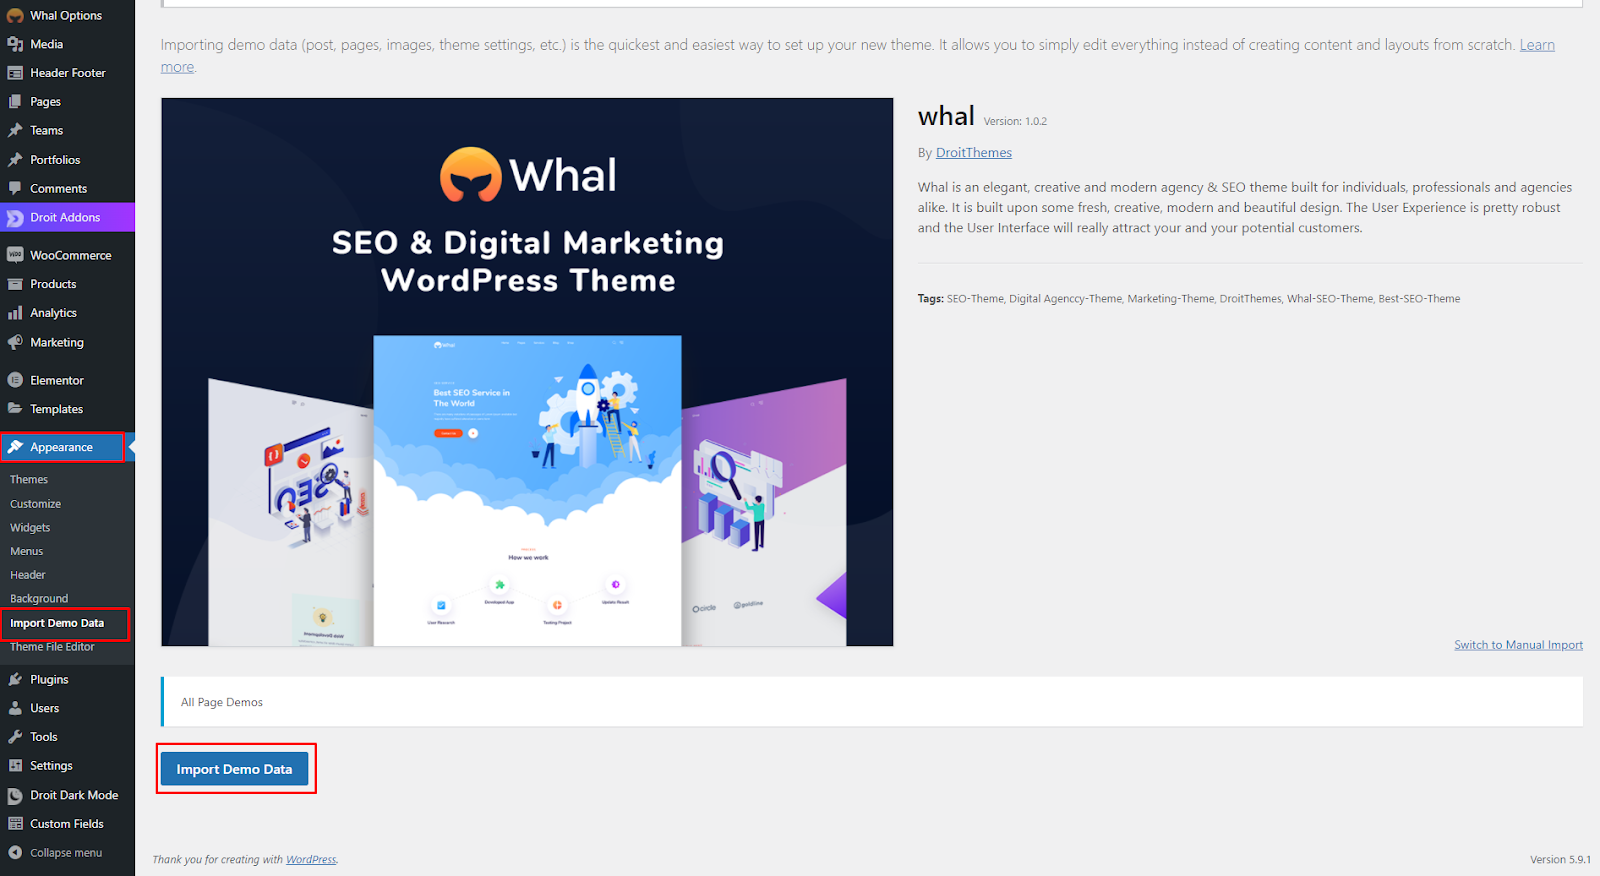
If you want your site to look exactly like the ‘Whal’ demos, you have to import one of the preset demos successfully.
We integrated the One Click Demo Installation feature in Whal. So, you can import any demo content with a single click.
- Start by installing the theme and activating it.
- Make sure all the required/recommended plugins are activated before you begin.
- Then navigate to ‘Appearance > Import Demo Data‘ to import the demo data and click on the “Import” button.
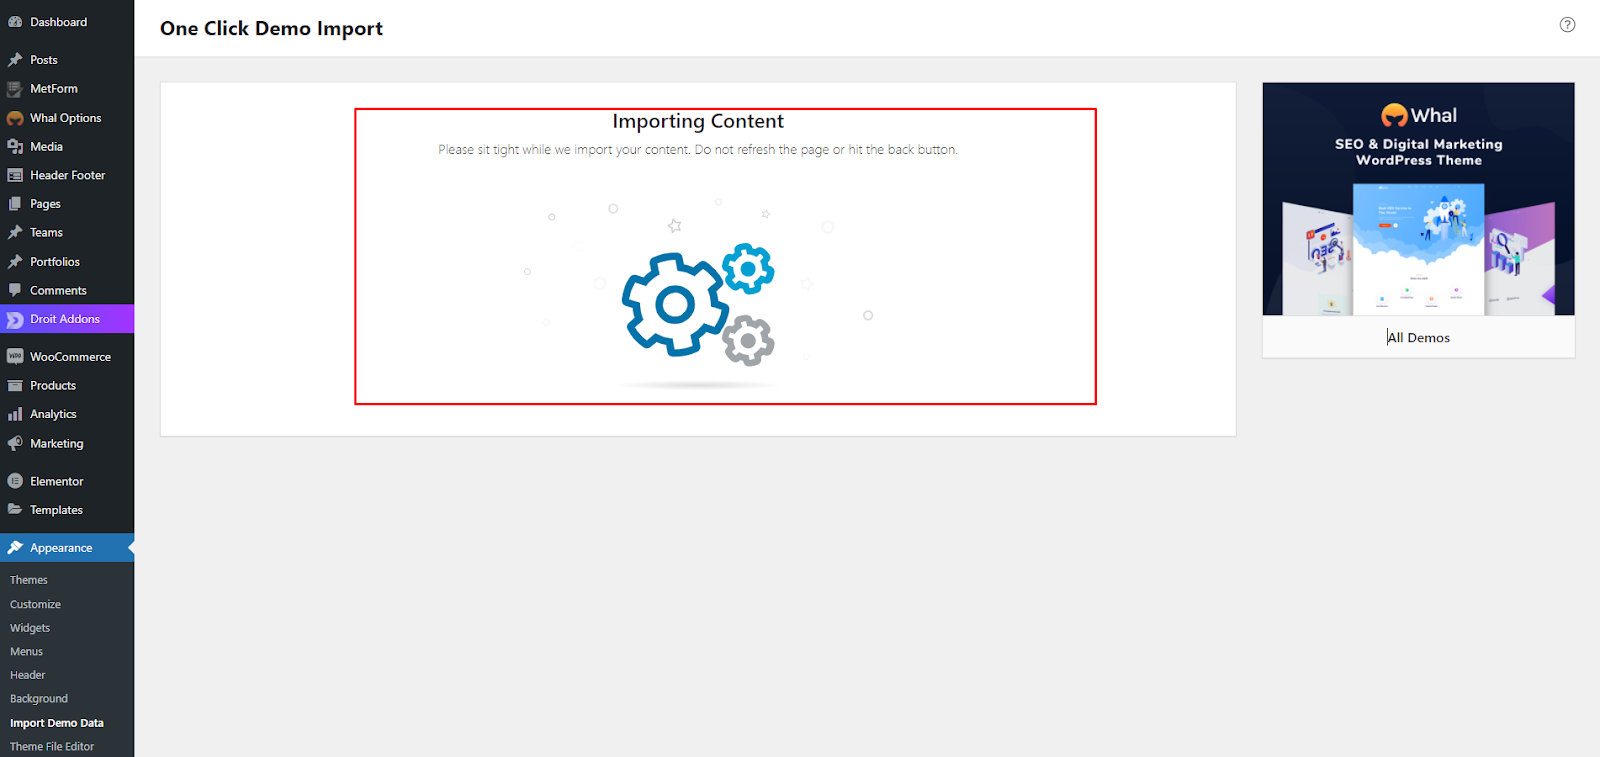
Note: We strongly recommend you wait till the importation, please wait! The message is showing.
After Demo Import
After successfully importing the demo content, you will find all the pages in your WordPress admin dashboard’s Pages menu. Find your desired homepage there and start editing this page with Elementor.
Also, you can set your Homepage demo as the Frontpage of your website from Settings > Reading.
Manual Import
However, you will get all the demo content data with the theme package. You will find the demos in the ‘inc/demos/all path in the Whal Core Plugin. If you failed to import the demo content with one click then you have to follow the below steps to import the demo content manually.
- Navigate to Tools > Import then install the WordPress plugin and click on Run Importer. Upload here the “contents.xml” file.
- Install the Widget Importer & Exporter plugin to import the demo widgets. Then navigate to Tools > Widget Importer & Exporter and upload here the ‘widgets.wie’ file.
- Now you have to import the Theme Settings as like the demo. Navigate to ‘Theme Settings > Import / Export‘. Then click on the Import from File button and copy-paste the backup string here and click on the Import a Backup button. You will find the backup string in the theme-settings.json file.
For any assistance, please contact DroitThemes Support
